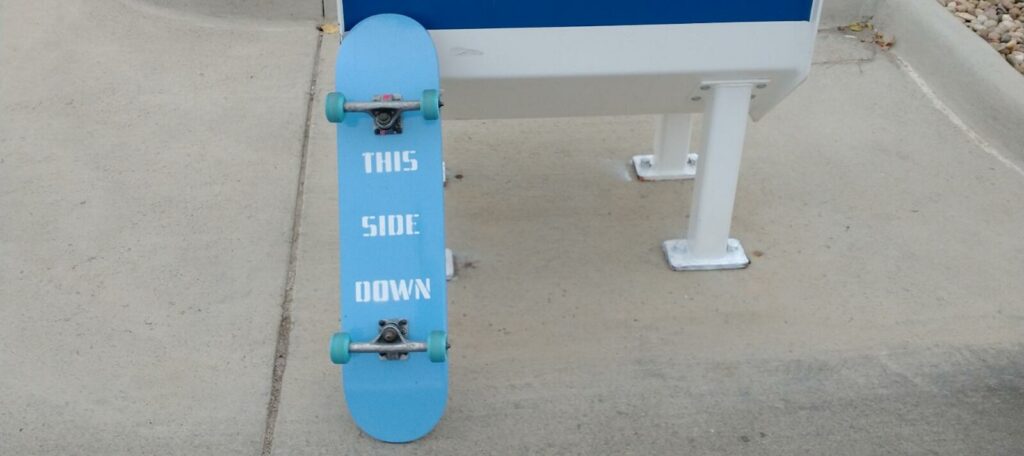
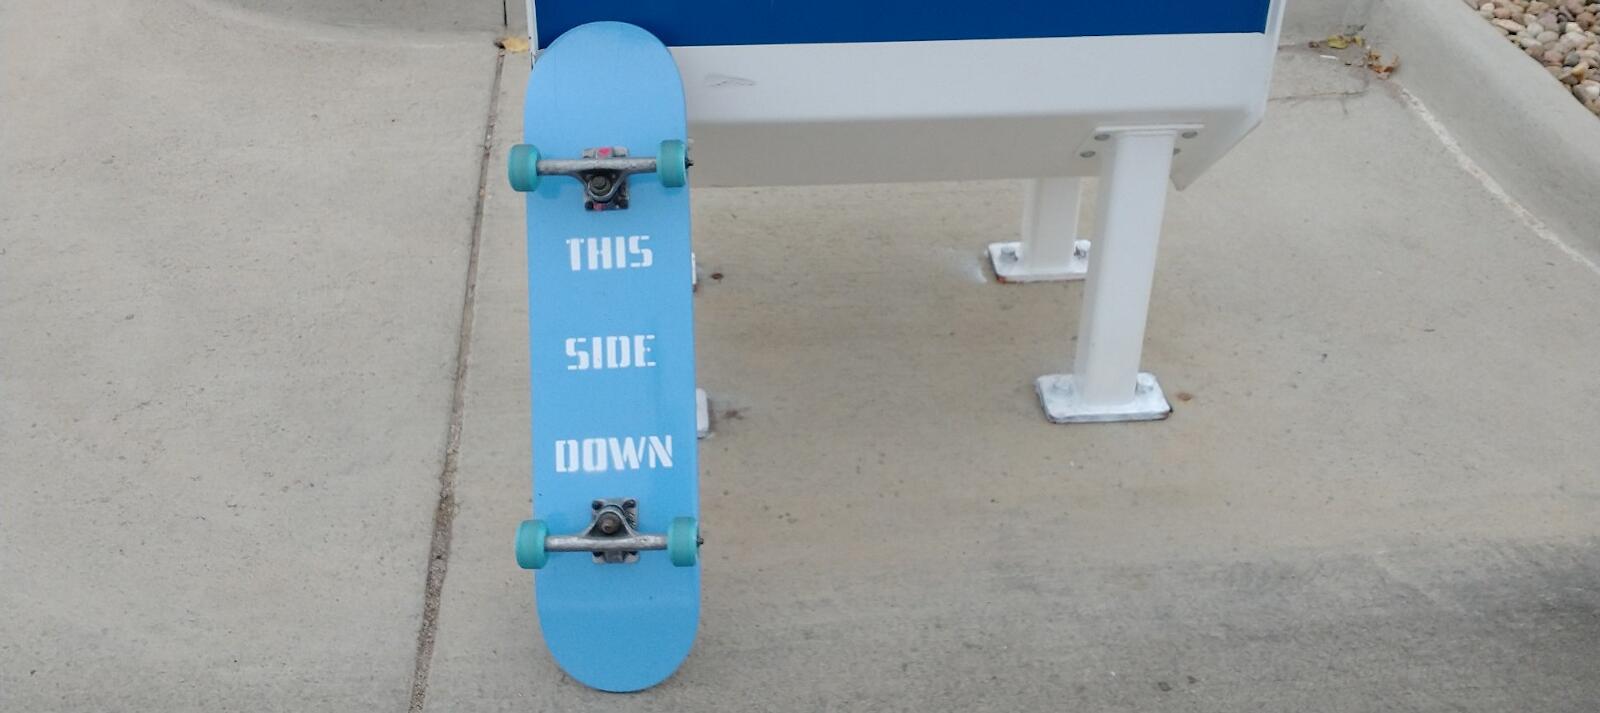
This was a very simple project, just stripping down a skateboard from a thrift store, painting it, and assembling it. I am going to try to include these kinds of simple projects in this blog. It’s easy to just do something quickly and forget about it, or think that it isn’t worth sharing because it isn’t complicated. I’ll have to do a more interesting skateboard in the future.
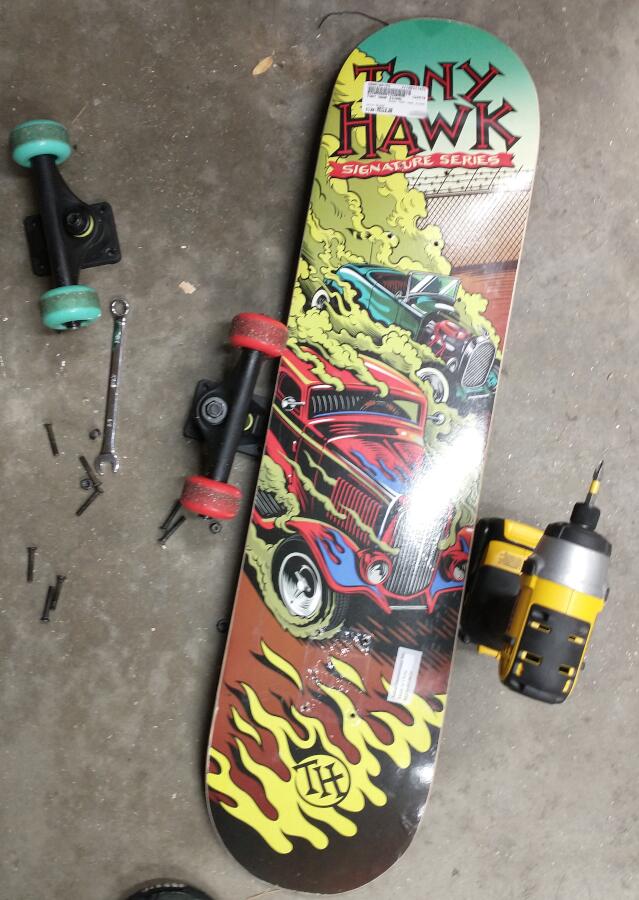
I already had a couple sets of trucks stored in the garage, so I went around to thrift stores and pawn shops to try to find a skateboard deck in about the right size for me. It seems there was a shortage of skateboards this summer, since I struck out 5 times before I overpaid for a crappy used skateboard. I took it out in the parking lot to test and the bearings stuck so hard the wheels wouldn’t turn. Oh well. I only really needed the wood. This is a “Tony Hawk Signature Series” skateboard. Do not buy one.
I took the board home and took it apart. Then I tried to sand the bottom of the board and realized that it was a sticker. I definitely overpaid.
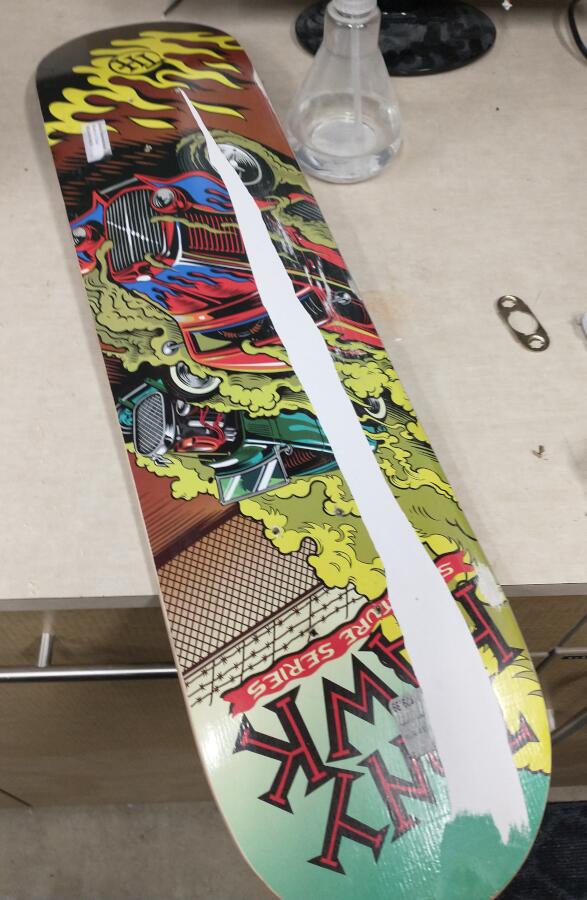
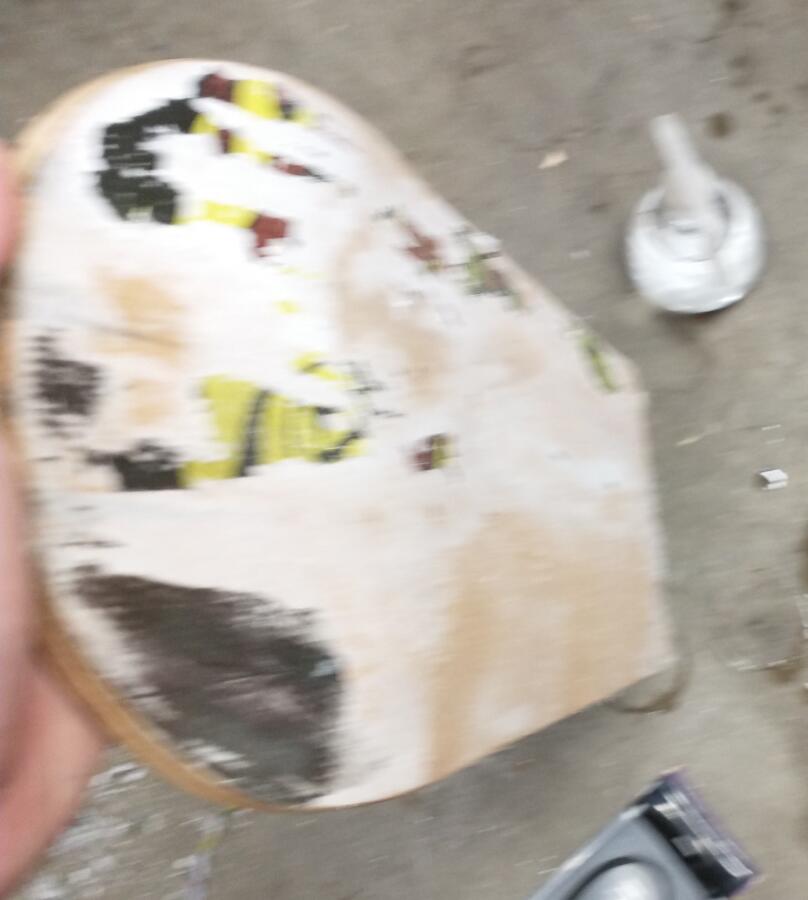
To remove a sticker like this, I used a heat gun to soften the glue, then peeled the plastic coating off. Once the plastic waterproofing is removed, the remainder of the sticker is just paper. Spraying it with water makes it easy to remove the paper with an abrasive pad. Unfortunately, what I found underneath the sticker was pretty bad wood making up the deck. It has superficial cracks in the plywood and some pits in the surface. Both defects were covered up by the sticker and grip tape. But this is a practical device, and it’s still wood.
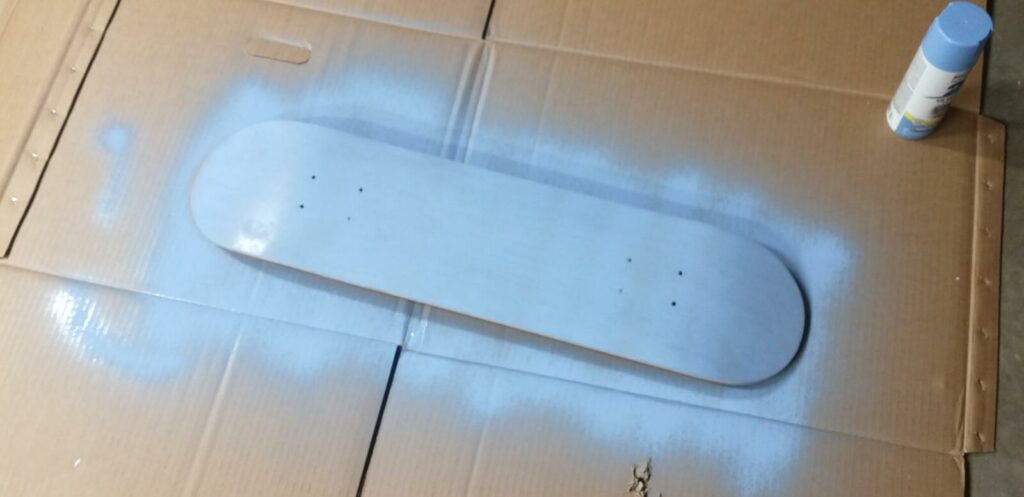
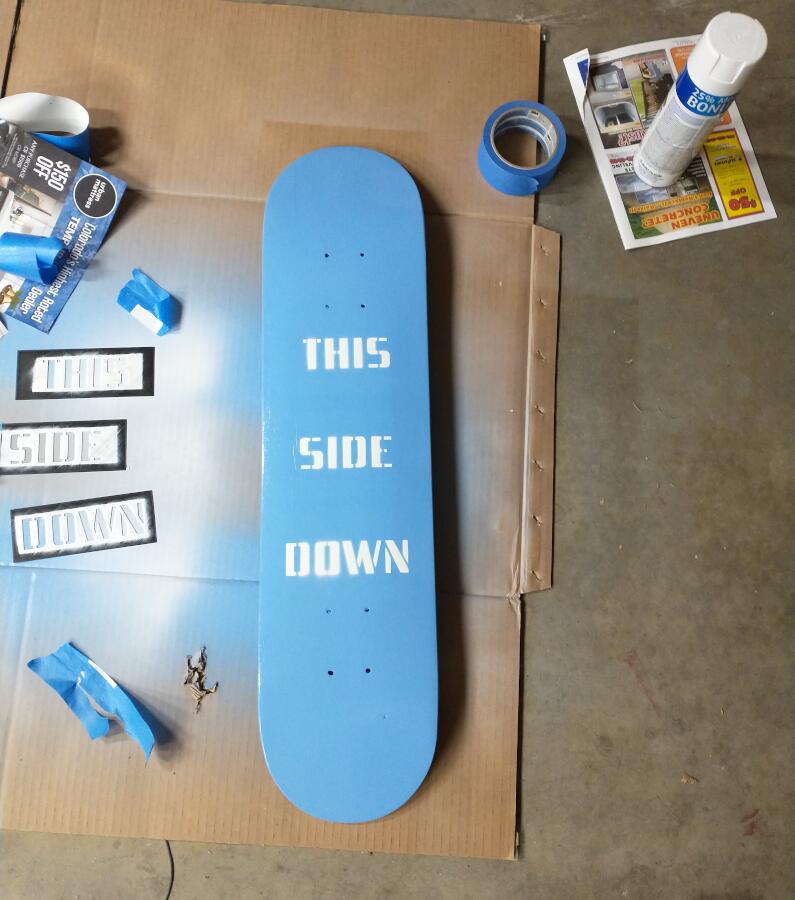
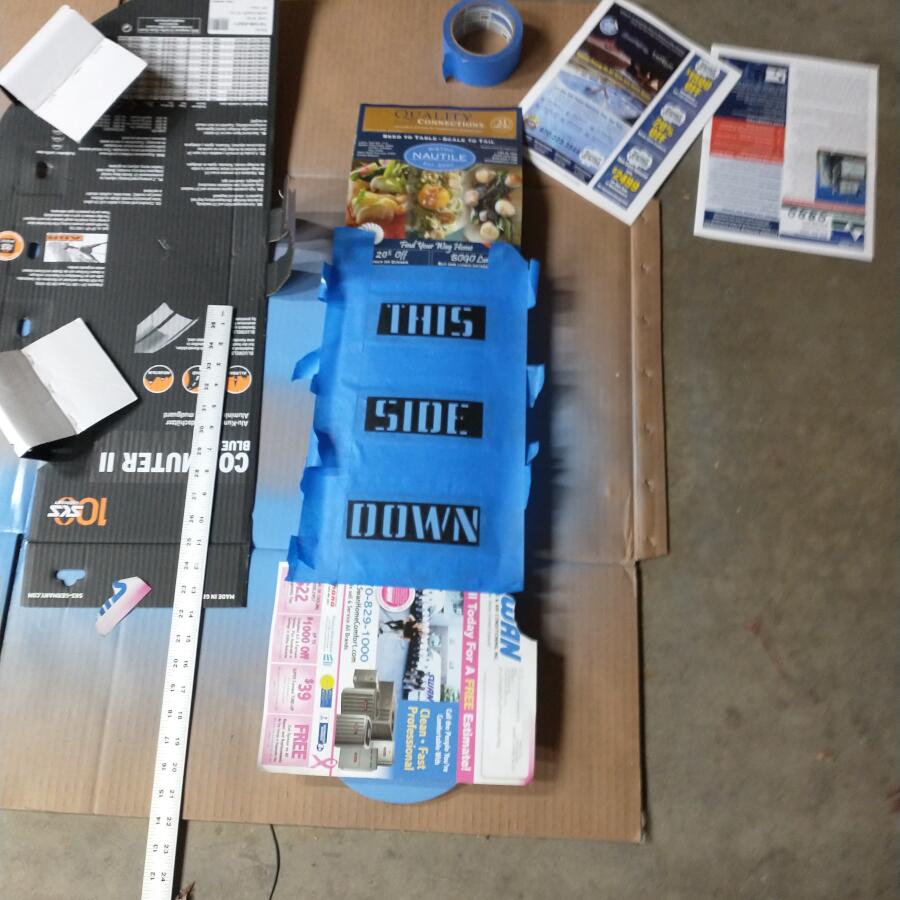
While the board was drying, I designed a stencil in Fusion 360 and printed it on my 3D printer. The 3D printer is a great tool for making stencils. Thin prints, under 2mm, flex pretty well, and I was able to select a font for myself.
Extra paint layers helped fill in the cracks, and I ordered some new wheels and bearings to finish it up. Now I just have to learn to skateboard better.
