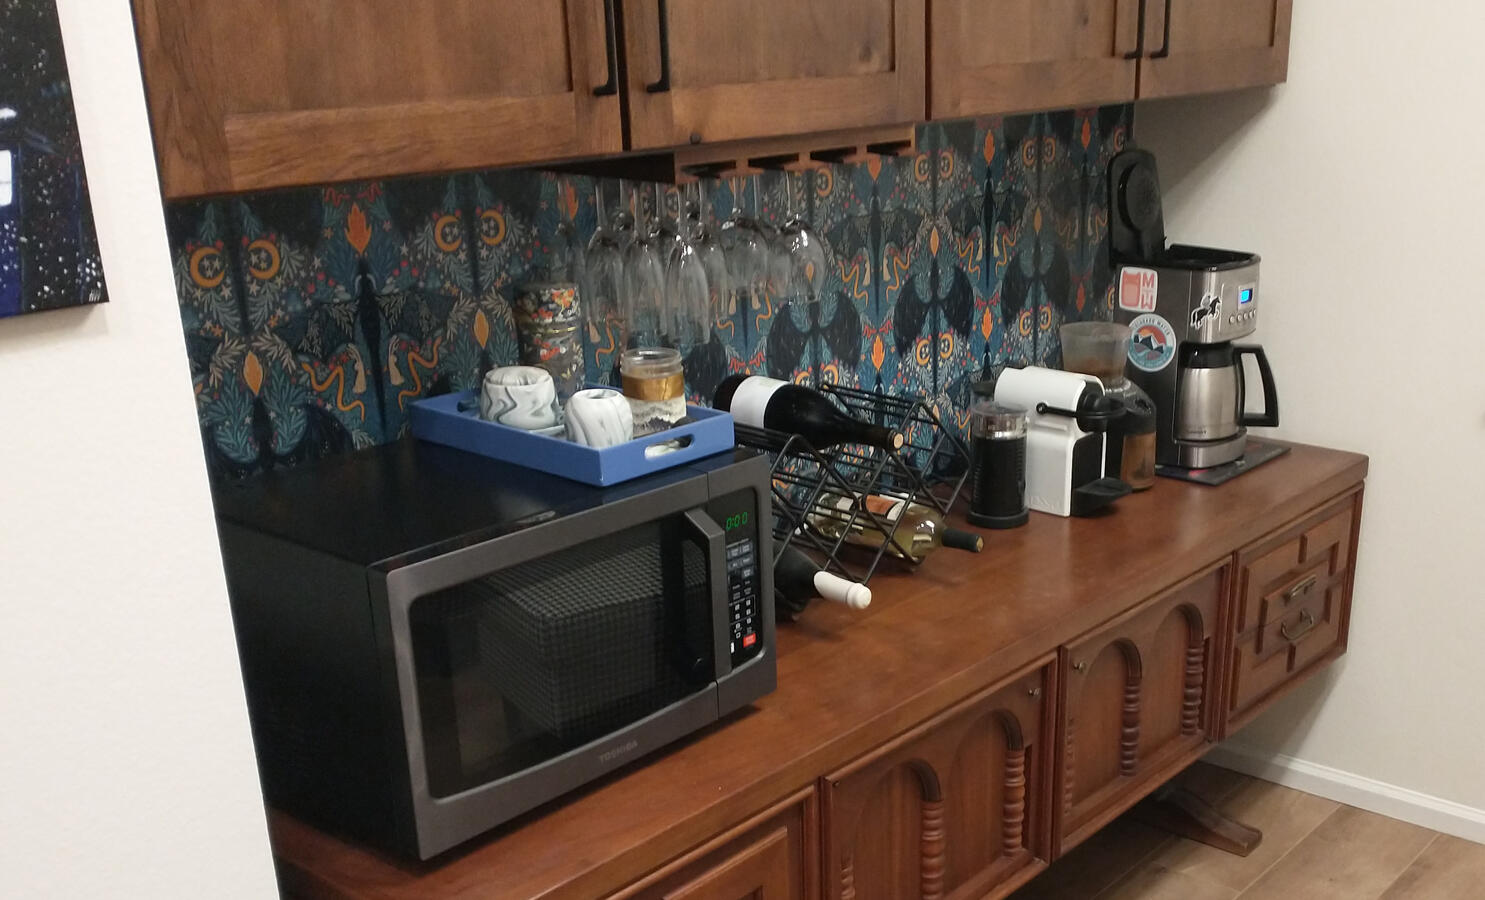
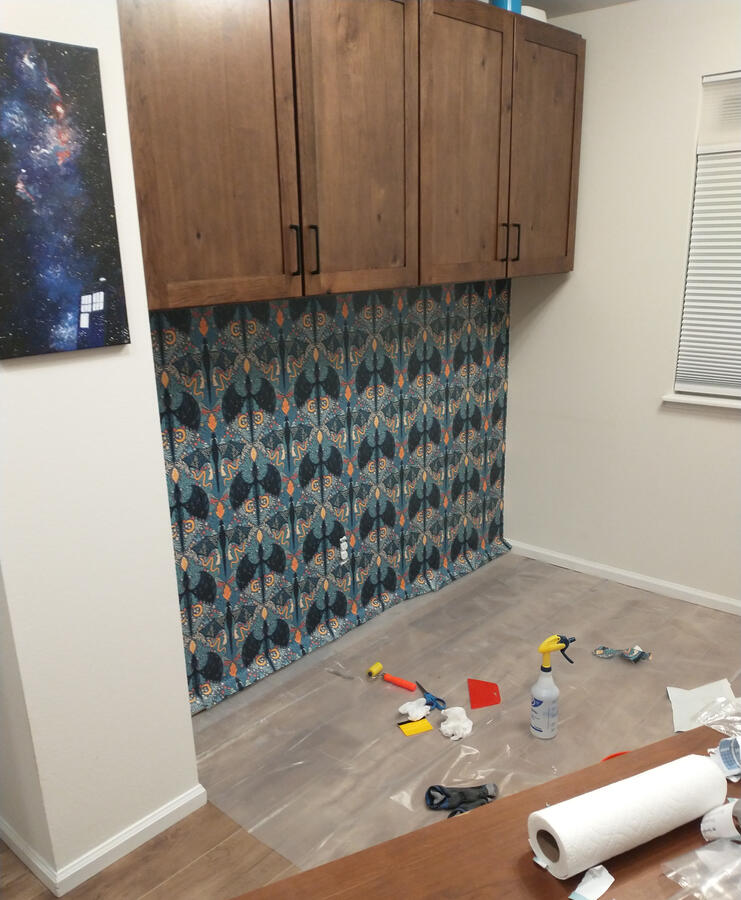
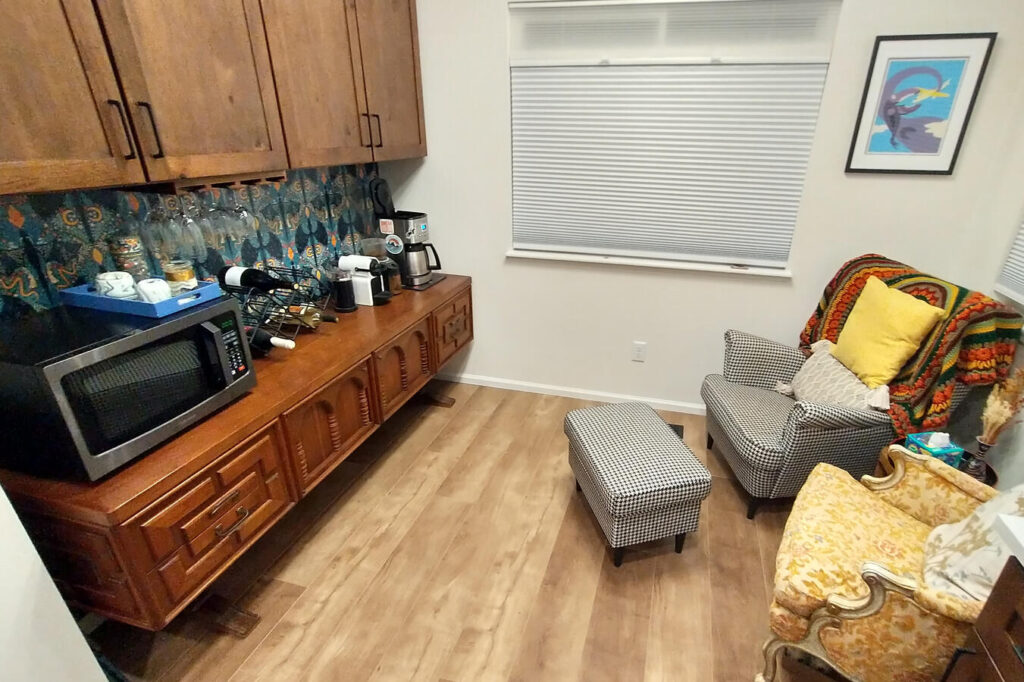
We’re currently remodeling the bathroom on the first floor of our house. Part of that remodel will include putting wallpaper on the upper half of the wall, which is something I had never done before. To make sure I am comfortable doing it, we decided to apply wallpaper to the part of our kitchen that used to be the dining nook.
We bought some cute dragon-themed pre-pasted wallpaper from Spoonflower and ordered the kind of wallpaper primer they recommend online. I sanded down the wall to remove big bumps from the drywall texture, filled little cavities with mud, and then put on one coat of cheap primer and two coats of the fancy wallpaper primer.
Spoonflower’s instructions say to wait 4 weeks for the wallpaper primer to cure, which seems crazy. Coincidentally, though, we had a lot of stuff going on for the last month, so we were able to leave our kitchen kind of a mess while it cured.
Last night, my wife and I worked together to apply the wallpaper to the wall. We hung the first sheet with a laser level to make sure it was perfectly vertical, then worked left. The wall isn’t perfectly flat, so there is a tiny bit of warping,. but I tried to make sure that the parts of the wallpaper that are normally visible will be well-aligned.
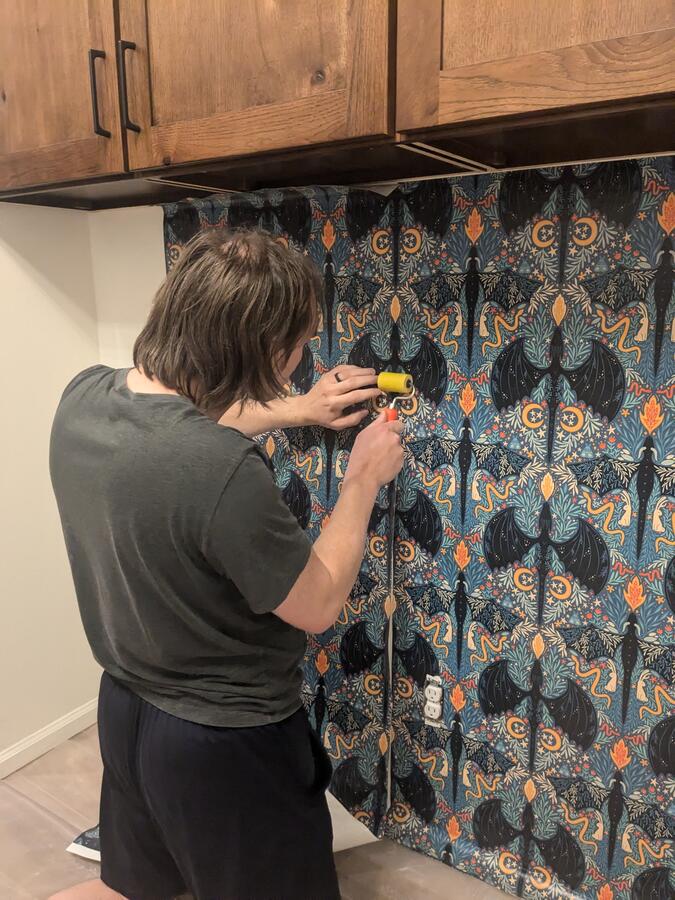
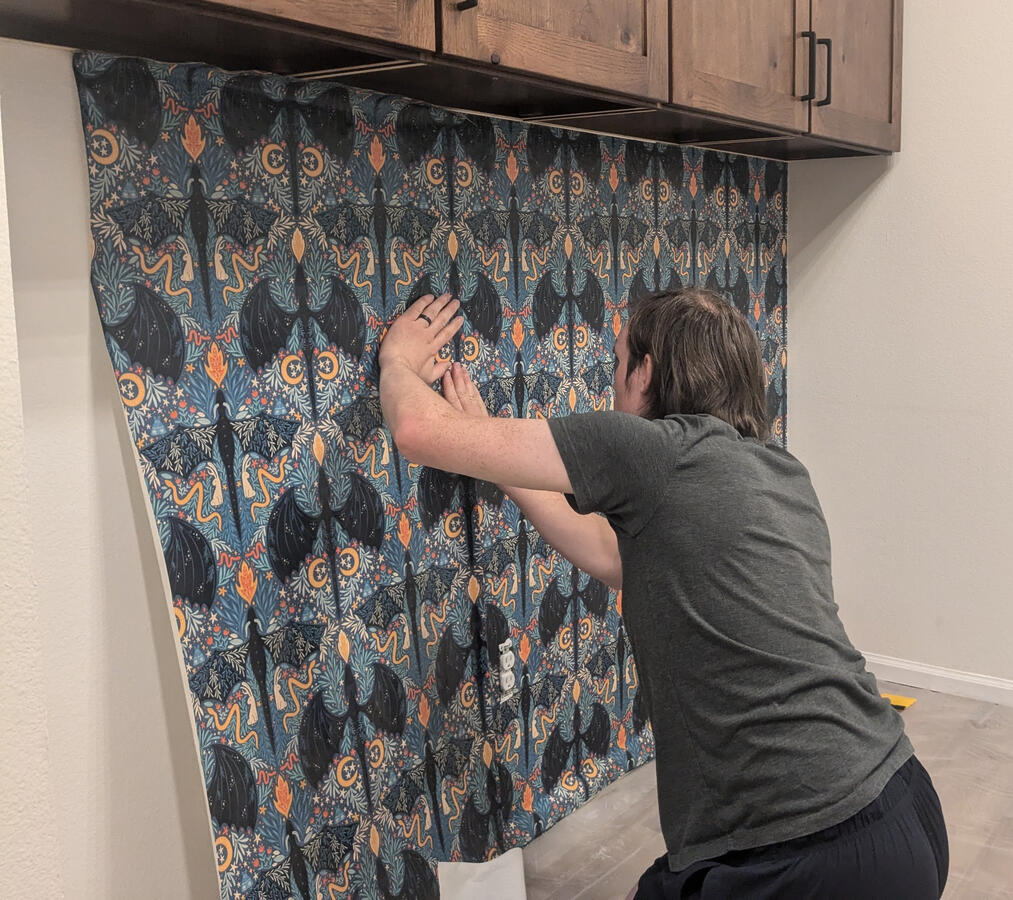
A few things I learned from this project that I will apply to future wallpapering:
- The wallpaper needs to overlap the edges of the wall in all directions. One of the Spoonflower FAQ docs I took notes from said that the sheets would be cut to perfectly align, but that was not correct. The sheets were cut about 1/8″ shorter from one to the next. I should have hung the wallpaper so that all the edges were overlapped so that the edges would be clean.
- The wallpaper needs to be really, really wet. I was using a spray bottle to moisten it, which worked well once I realized it needed to be a slip-and-slide level of wet. The first sheet was not wet enough, and that made it hard to apply and caused it to curl up and peel off on the bottom edge.
- DO trim the wallpaper to slightly overlap while you are putting it on the wall. All the instructions say not to, but what they mean is not to cut it to fit. If there is lots of overlap, you should cut it because that overlap will keep it from touching the wall.
- The wallpaper should be cut while it is still a little bit wet, not fully dry. I think about 2 hours of drying for the Spoonflower pre-pasted wallpaper was good. That way, if the edge gets peeled up a little bit, you can stick it back down.
- When cutting around electrical outlets, shove a non-conductive playing card into the outlet box to protect your fingers and knife from the live terminals.
- After applying the wallpaper, spray a stream of water at the edges of the paper to get it to get a little bit of water up under the edge. Then wait for it to get tacky again and push it down. Before cutting the edge, the overlap will be against the adjacent wall and it will keep that part from making good contact. Getting it wet again will help to get that edge stuck down.
I would give myself a C on the first sheet we put up, but by the end of the wall I’d be in more of a B+ range. I feel confident that it will look good in the bathroom once we’re done.

