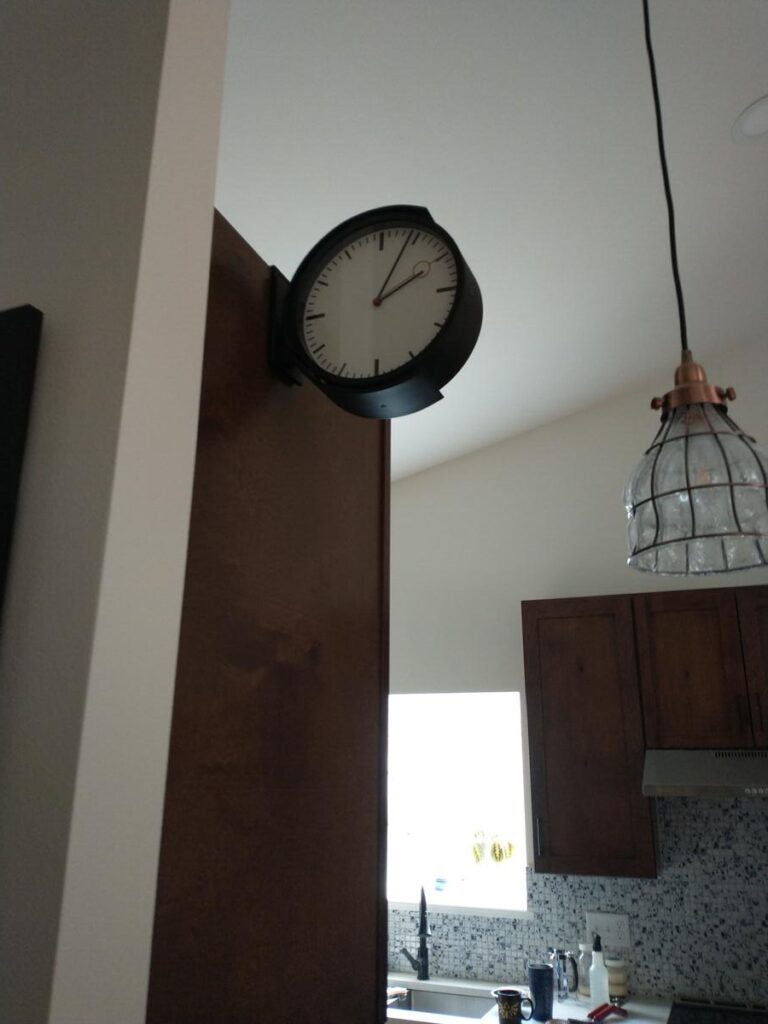
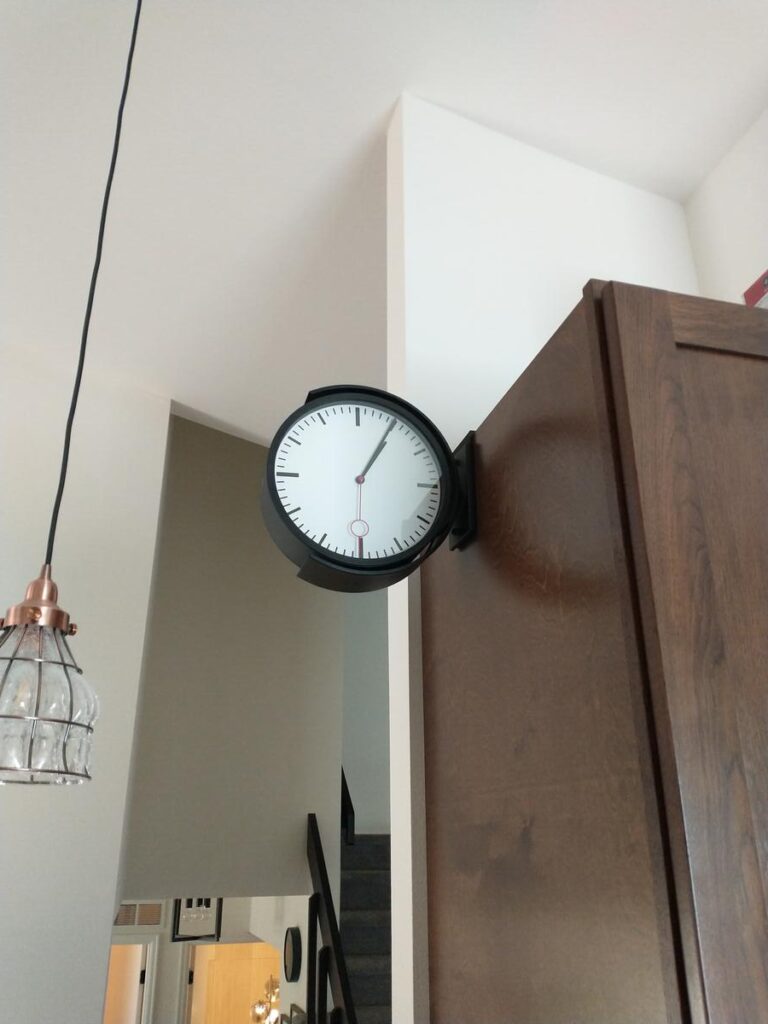
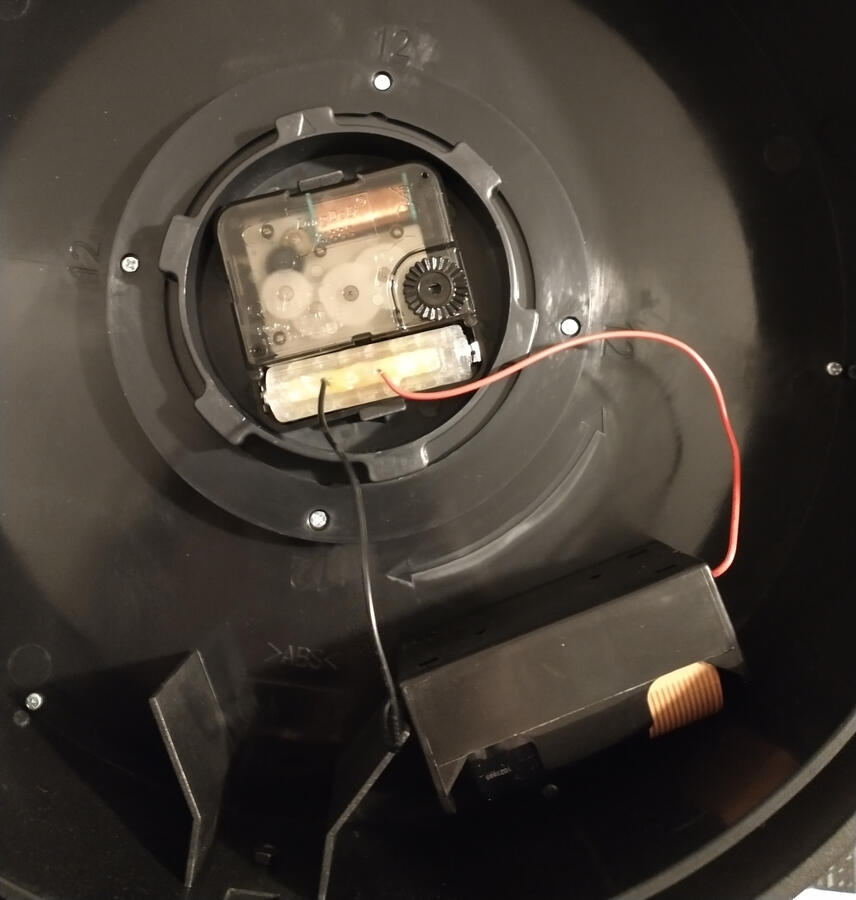
We have a train-station-style Ikea wall clock that I really like, but it chews through batteries pretty fast, at least on one side. There are actually 2 clock mechanisms back-to-back, so they were mercifully designed to be smooth and not clicky. On the other hand, that means it doesn’t fail in a way that you can tell it is broken, it just kinda slows down. I’m not sure yet whether the issue is mechanical in the clock mechanism or if the issue is just that the motor eats electrical energy too fast and kills batteries.
This gave me an idea, though: why are the batteries in these clocks so piddly and little in the first place? The clock on my wrist runs for years without replacement batteries, but I need to replace the one on the wall every year. I get that the wall clock has to move something with a lot more inertia, but it also has room for huge batteries up on the wall. So why are all wall clocks powered by a single AA battery?
I started by looking online for a AA battery dummy with leads, and I didn’t find anything easily available. I did find these D-cell battery holders on Amazon, though, so I bought those.
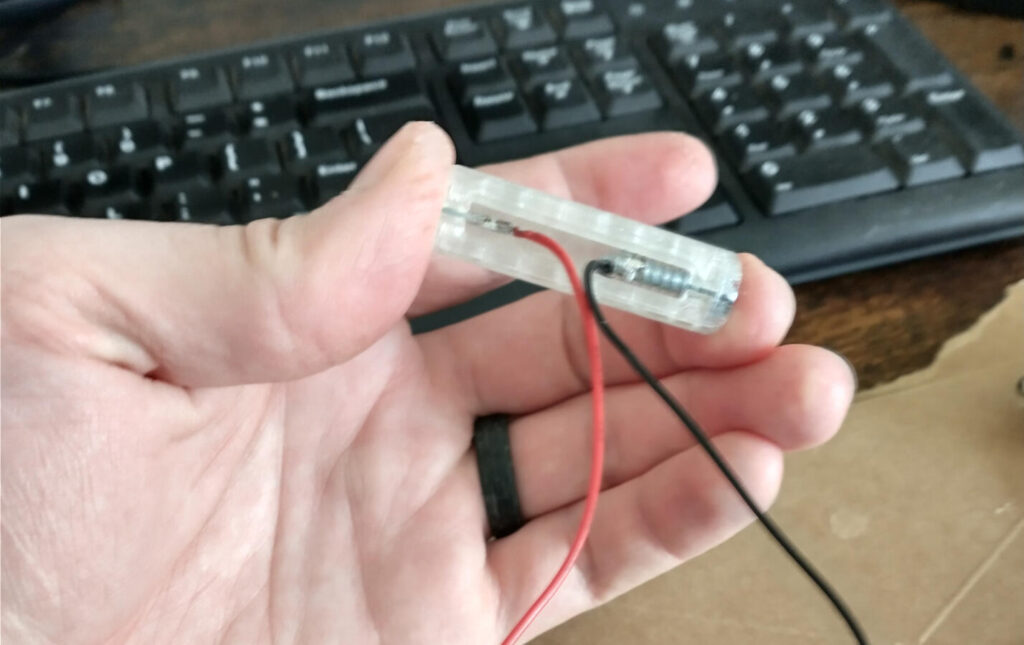
Since I couldn’t find something to do the job, I just decided to make it. This is what 3D printers are made for. The main thing to replicate is the contact points on the ends, so I gathered up all my fasteners and found some that were very close to the dimensions of a AA battery’s terminals.

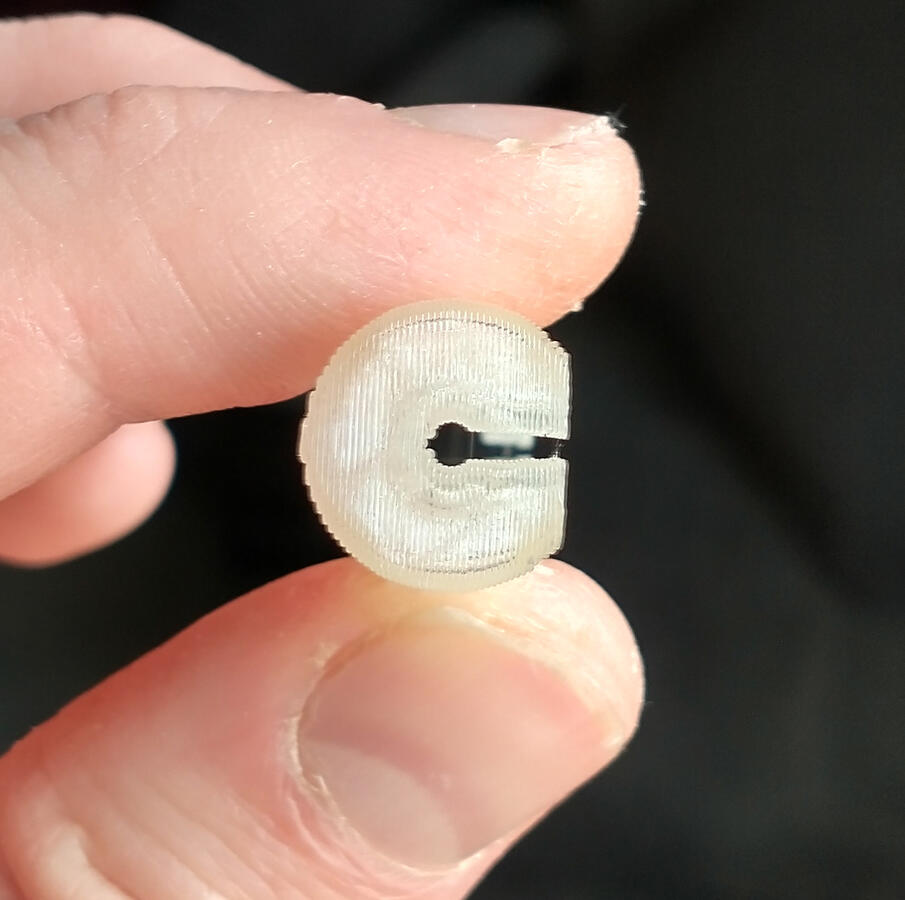
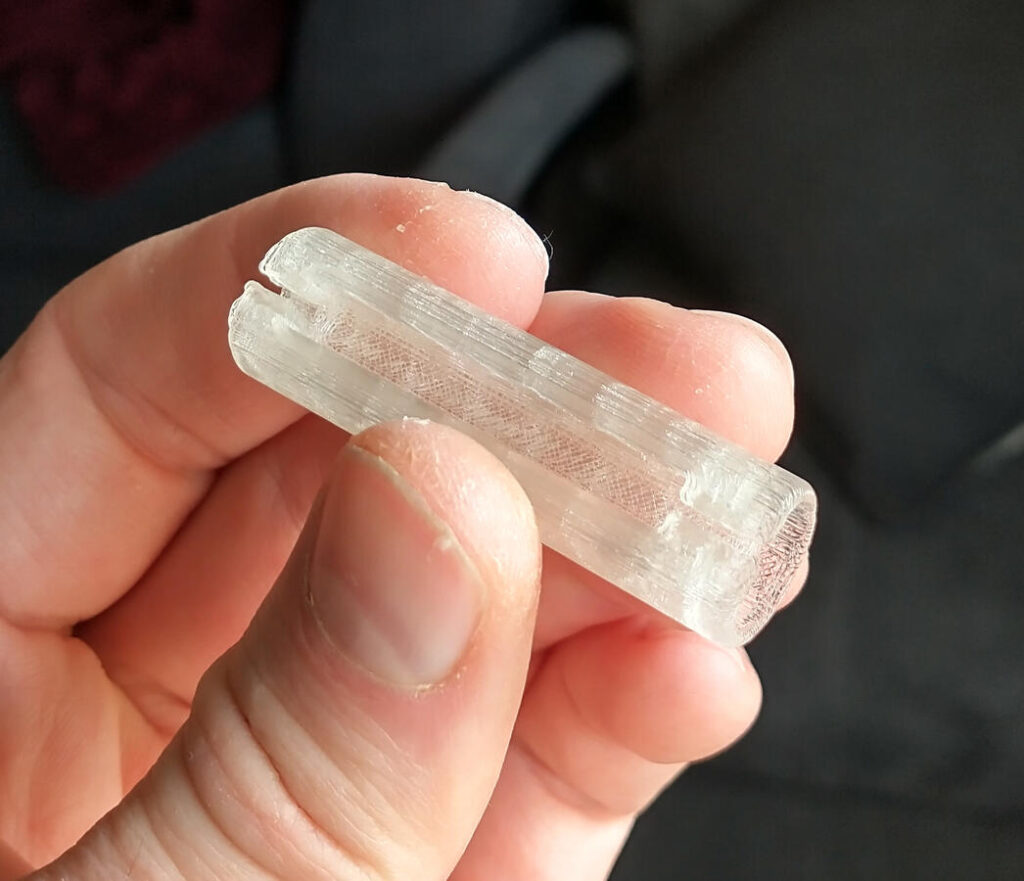
I started by modeling the AA battery in Onshape so that I had all the important dimensions available. Then, I searched through my junk for some fasteners that matched the diameters of the AA battery terminals. I landed on some #10 hex-head sheet metal screws and the nails out of a wire routing clip, which were very close to the right dimensions. I modeled those in Onshape as well, and stuck them into the model at the right spots. Then I hollowed out the battery model, made some tweaks to make it more printable, and subtracted the fasteners from the rest of the model.
Please ignore my terrible soldering on these. The current here is minimal, so I didn’t put a lot of effort into it. Then I just tucked the dummy terminals into each end of the printed battery housing and filled the central cavity with hot glue.
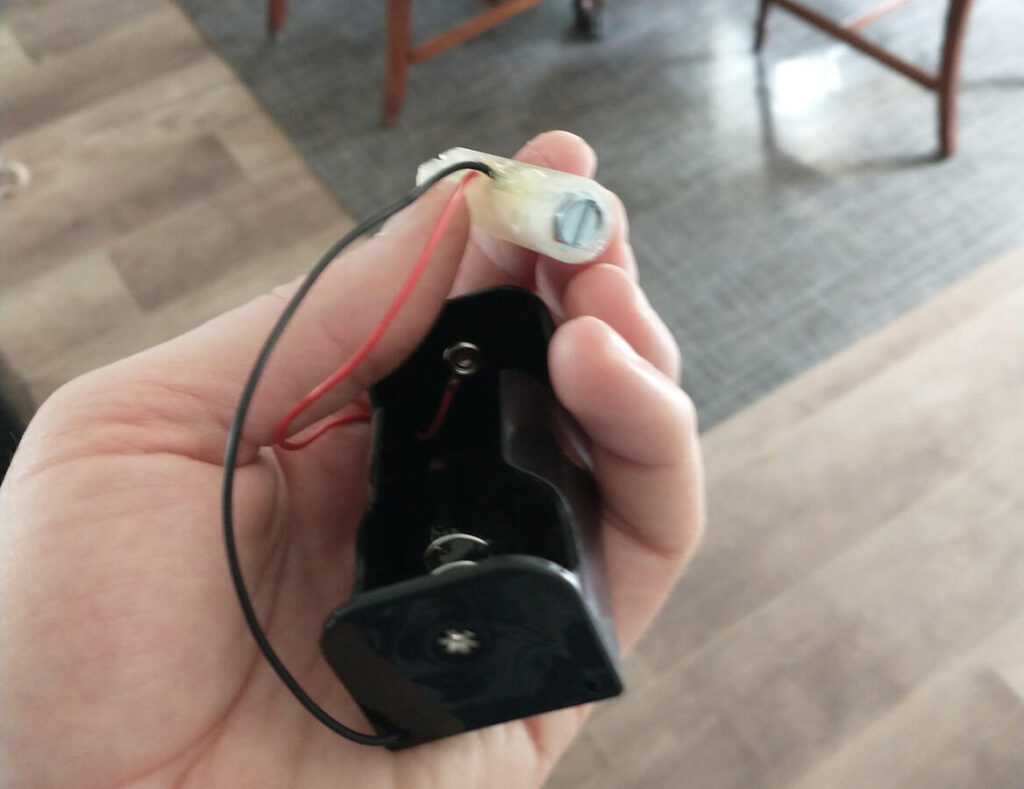
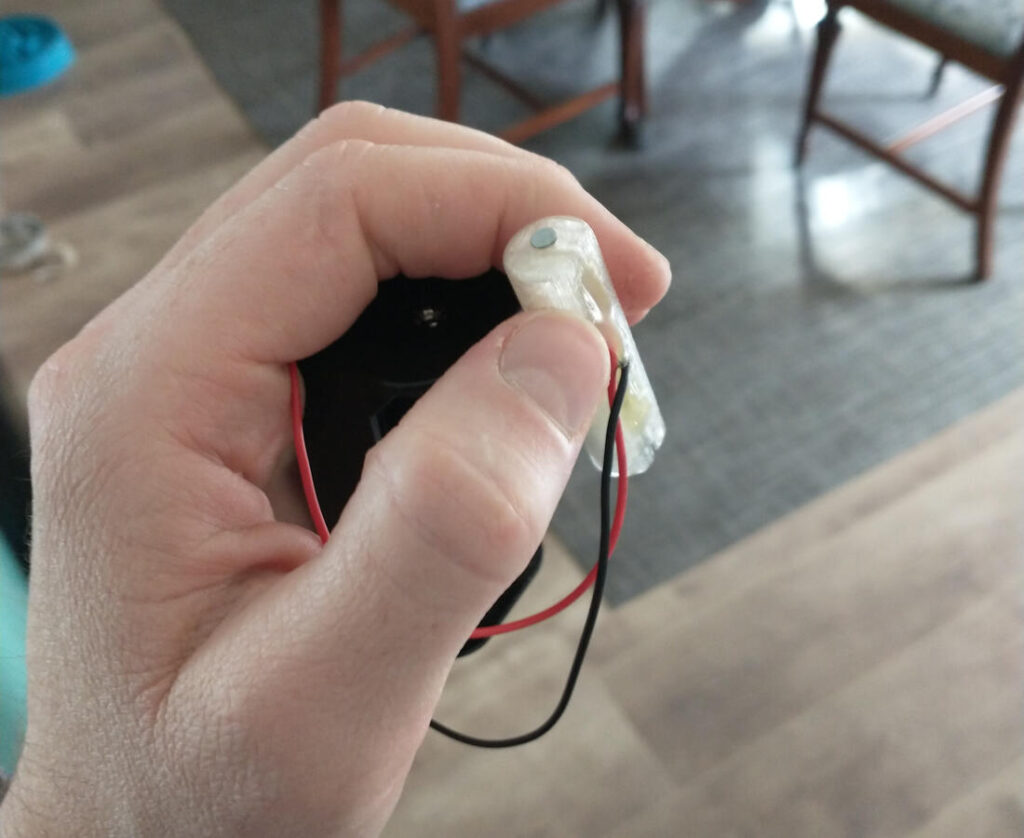
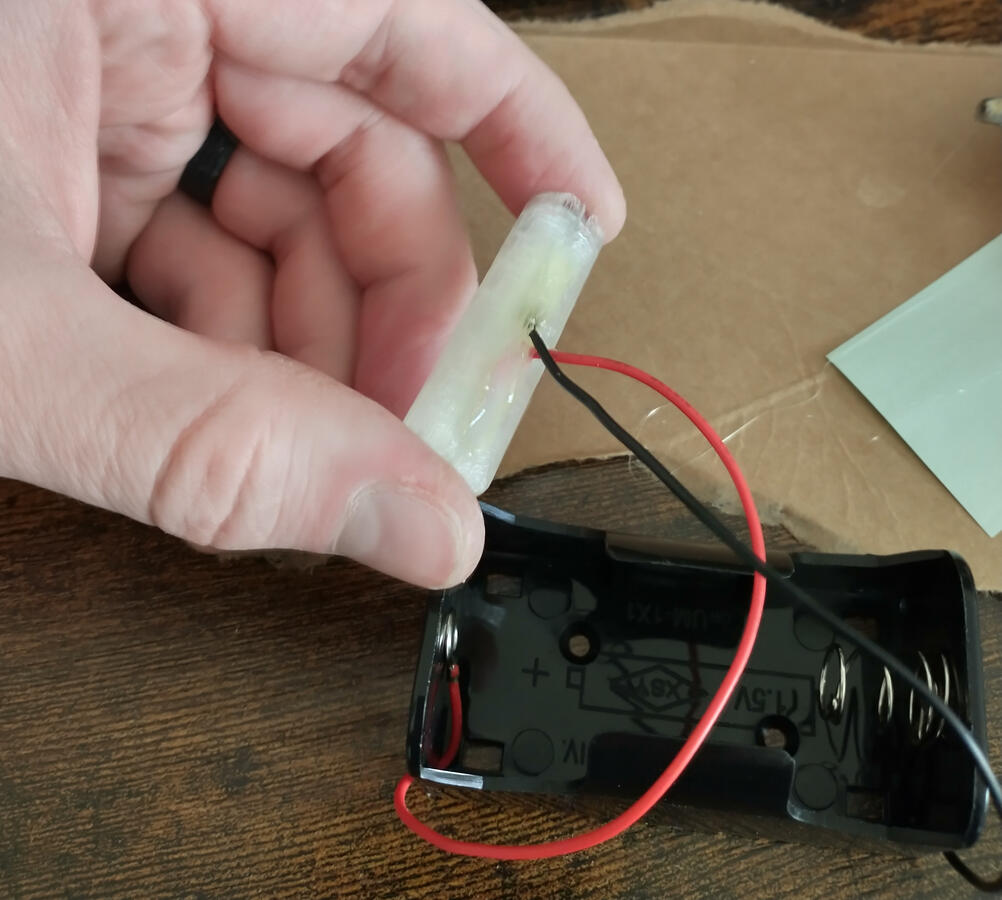
These things connect into a normal AA battery a bit loosely, which is usually fine because you can just stretch the spring end out a bit, and they are providing my wall clock with the same power as a AA but with more than 4 times the lifespan without modifying the clock directly.
Unless you happen to have the same fasteners lying around as me, the STL files that I used for this probably won’t help. If you want to fork my design and use it for your own project, though, you can do that from my Onshape project.
I also created a second project for a 3D-printed hanger that makes it possible to just hang the clock off the side of a cabinet instead of screwing it in place. It requires a couple of machine screws to match the clock.
