Since we have moved in to our new house, I have been putting off finishing the kitchen cabinets with trim. I finally got around to working on it and finished the floor molding.
First, there is a gap between the pantry and the wall. The wall wasn’t plumb, so we installed the cabinet with a space leftover to put in a filler. Actually, we needed to put in 2 fillers: one for the cabinet face and one for the toe kick. There will be three cabinet face fillers in the kitchen, and they will be another project since they will be much more difficult to make.
When we bought the cabinets, we also paid for extra toe kick sheets. They’re 1/8″ plywood finished to match the cabinets. The idea is that you would stick them to the front of the cabinets’ existing toe kicks to make it look like one consistent surface. Our cabinets are installed with barely any variation in that surface anyway, so I decided to leave the toe kicks as-is and use the toe kick material to fill in gaps instead.
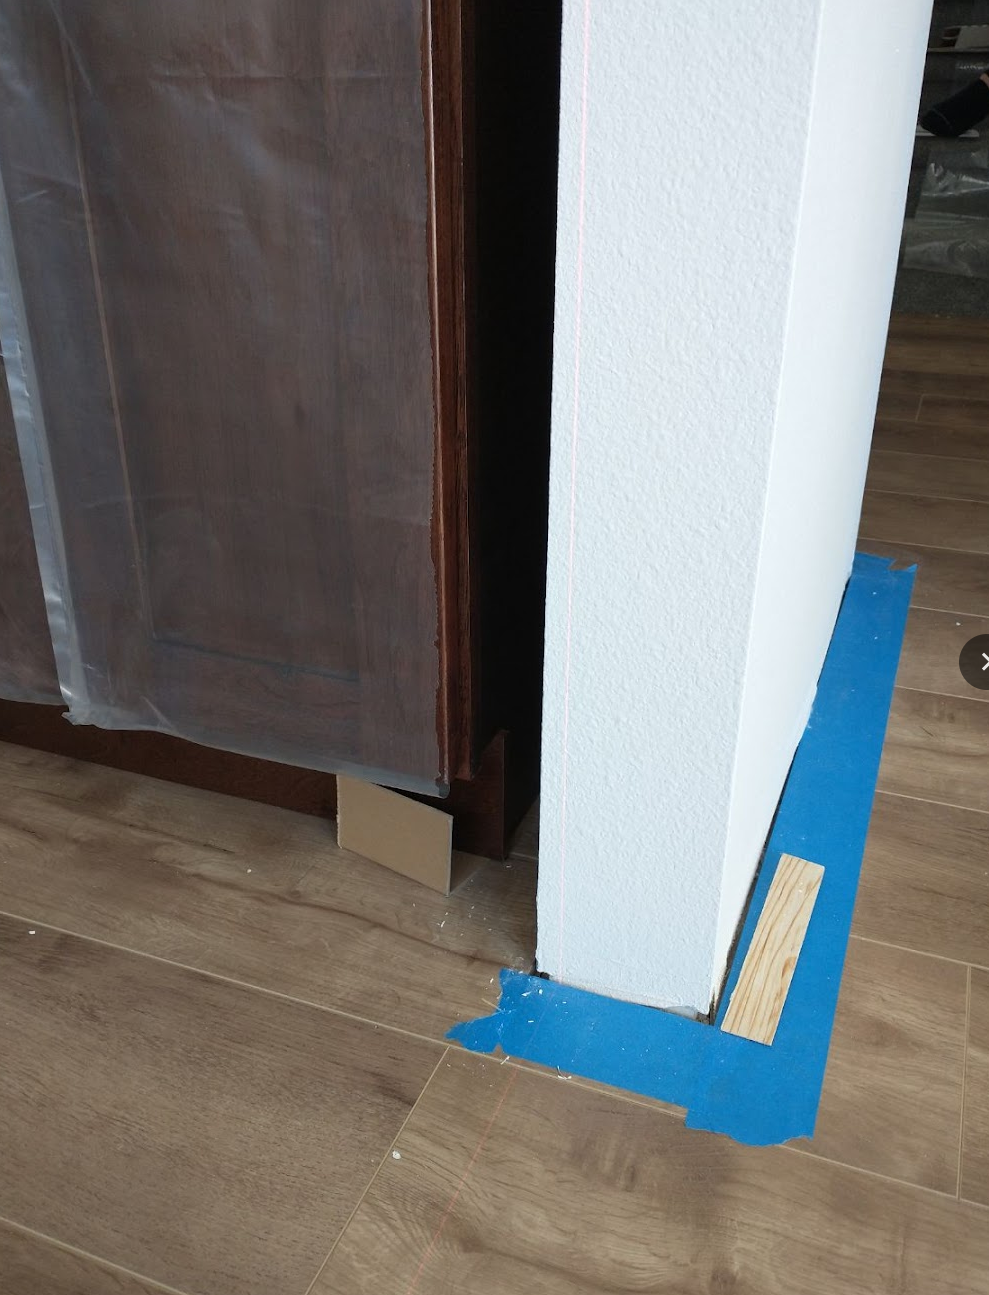
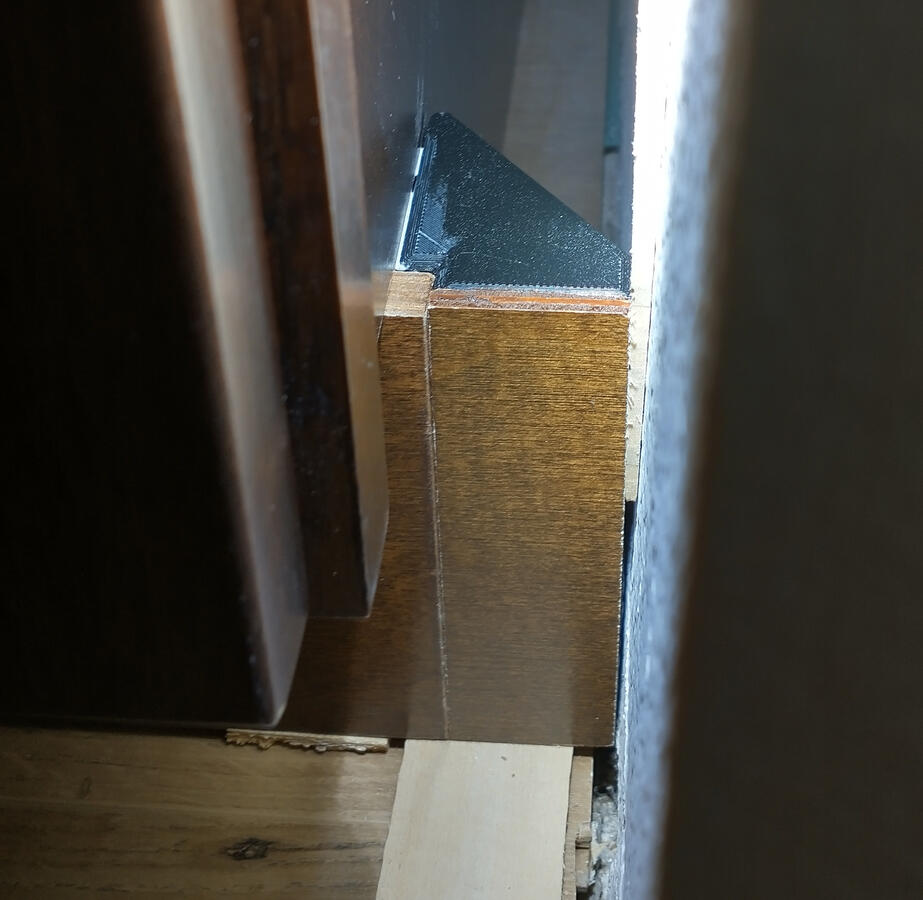
The corner where the pantry had a gap took three steps to finish: make a spacer to fill the gap between the cabinet and the wall, put normal baseboard up to the new spacer, and put quarter-round molding over the new spacer up to the new baseboard. I started by designing and 3D-printing a corner bracket and gluing a small piece of the cabinet-color-matched plywood to the front. I painted the outer surfaces with a paint pen to keep the color of the plywood where I cut this piece from being visible at the seam.
Then I put some Liquid Nails on it and shimmed it in place. This wall on the other side of the gap happens to have an HVAC return in it. With the vent cover off, I was able to drill a couple of access holes in the drywall and put screws through to hold the plastic bracket to the pantry side panel, which will add more strength than just the Liquid Nails. Unfortunately, I filled in the drywall holes before I thought to take a picture.
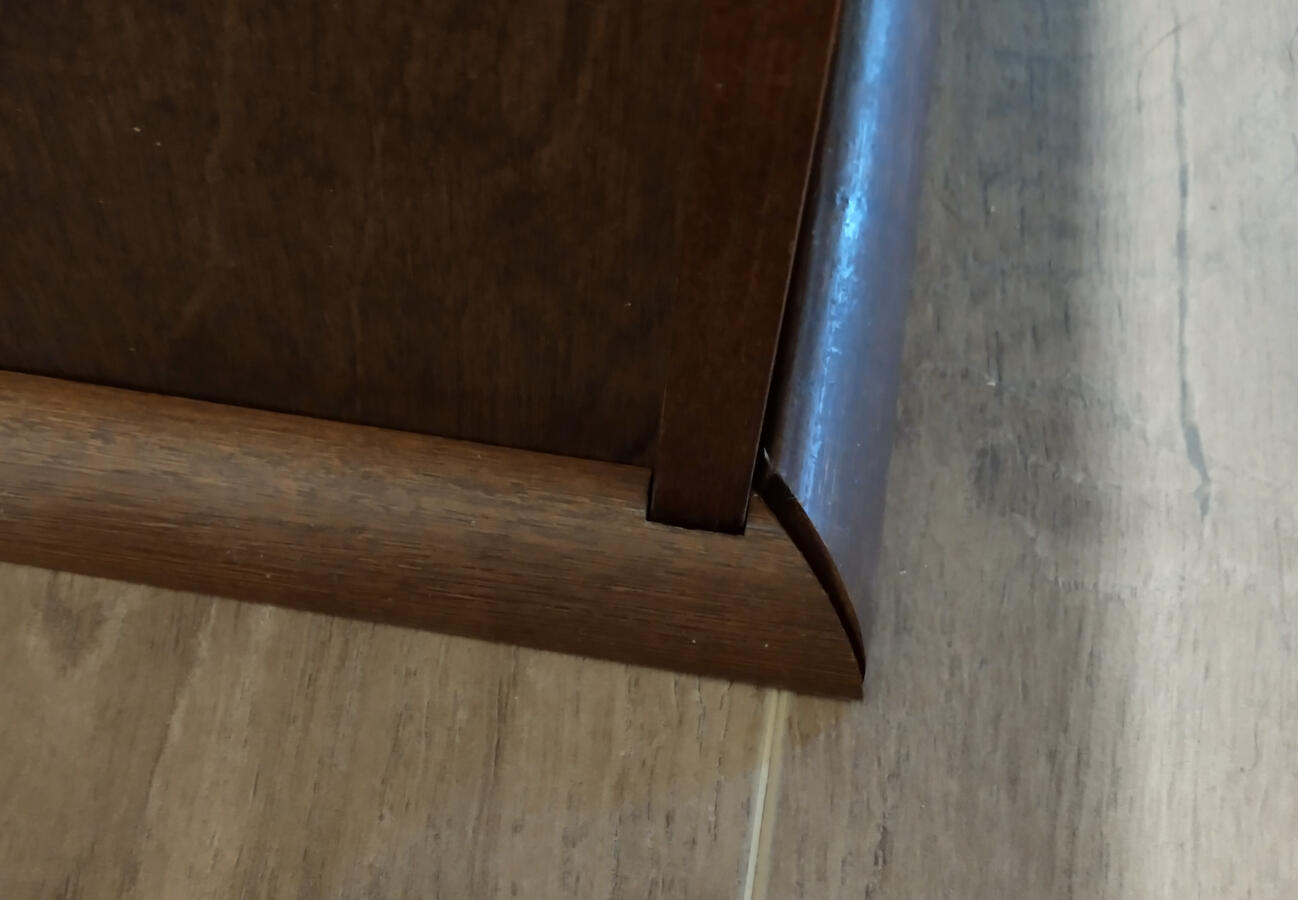
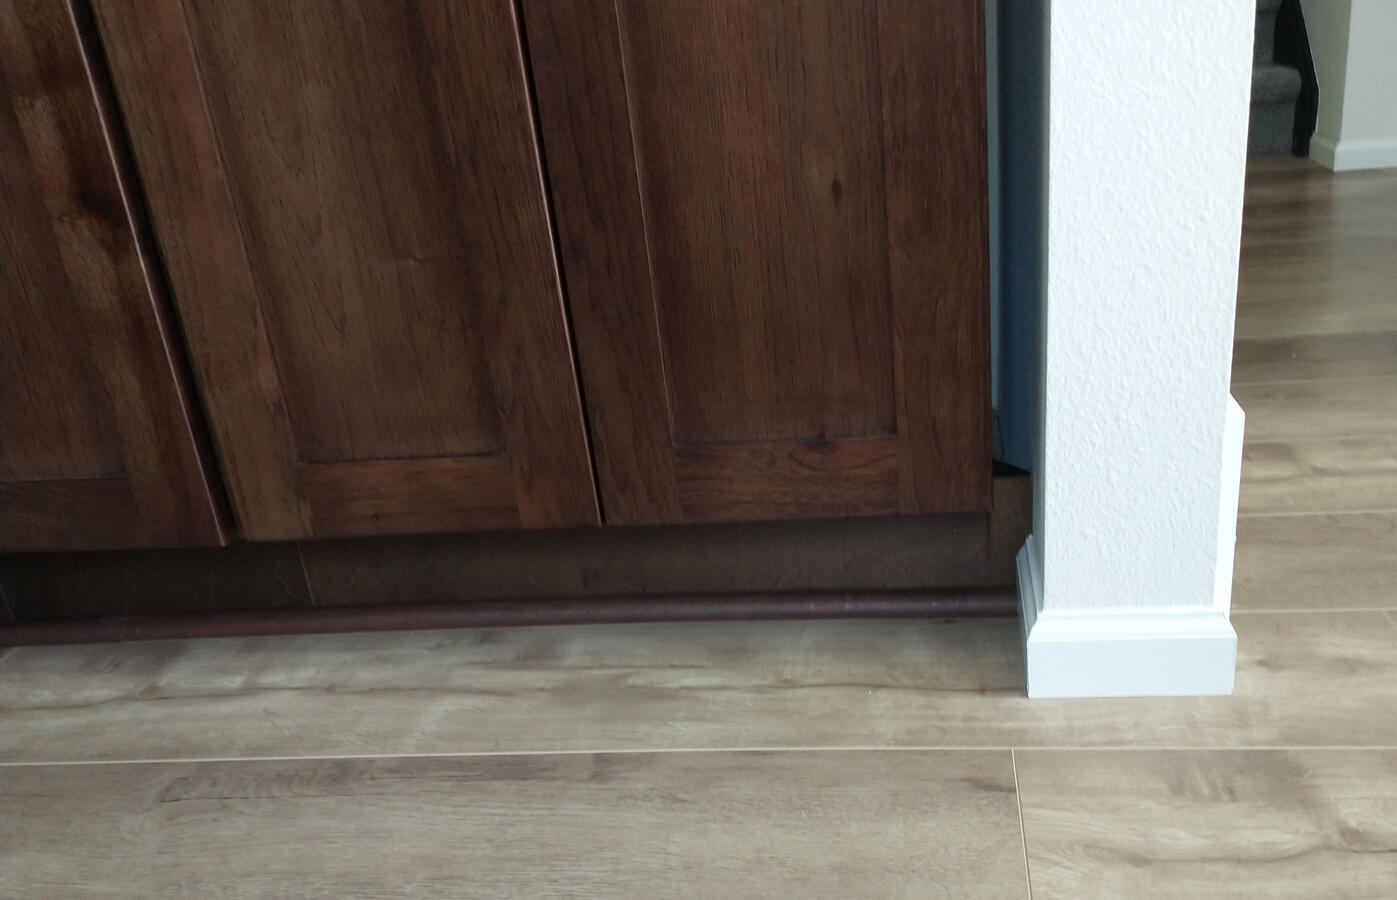
Once that gap was filled, I was able to put baseboards around the wall corner like normal.
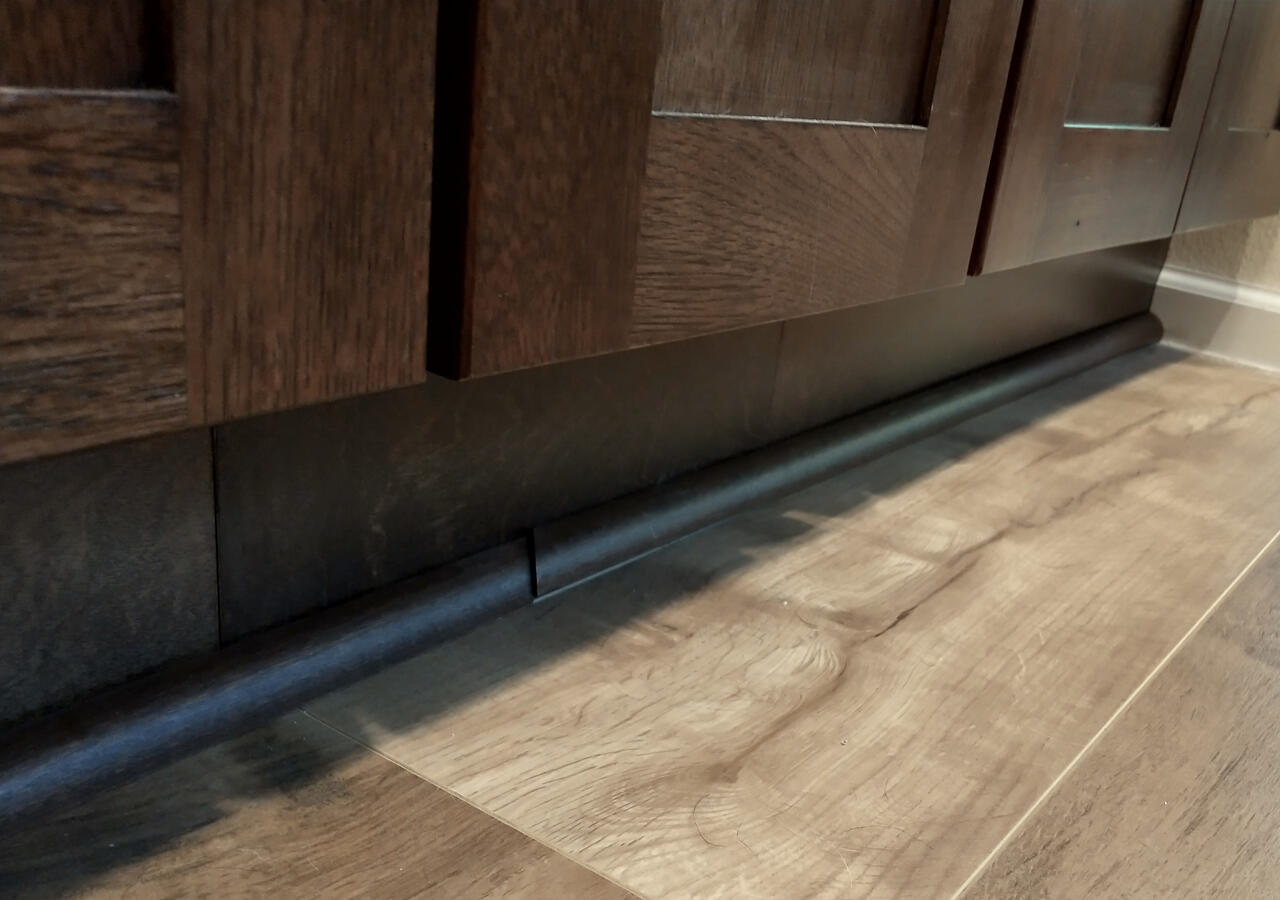
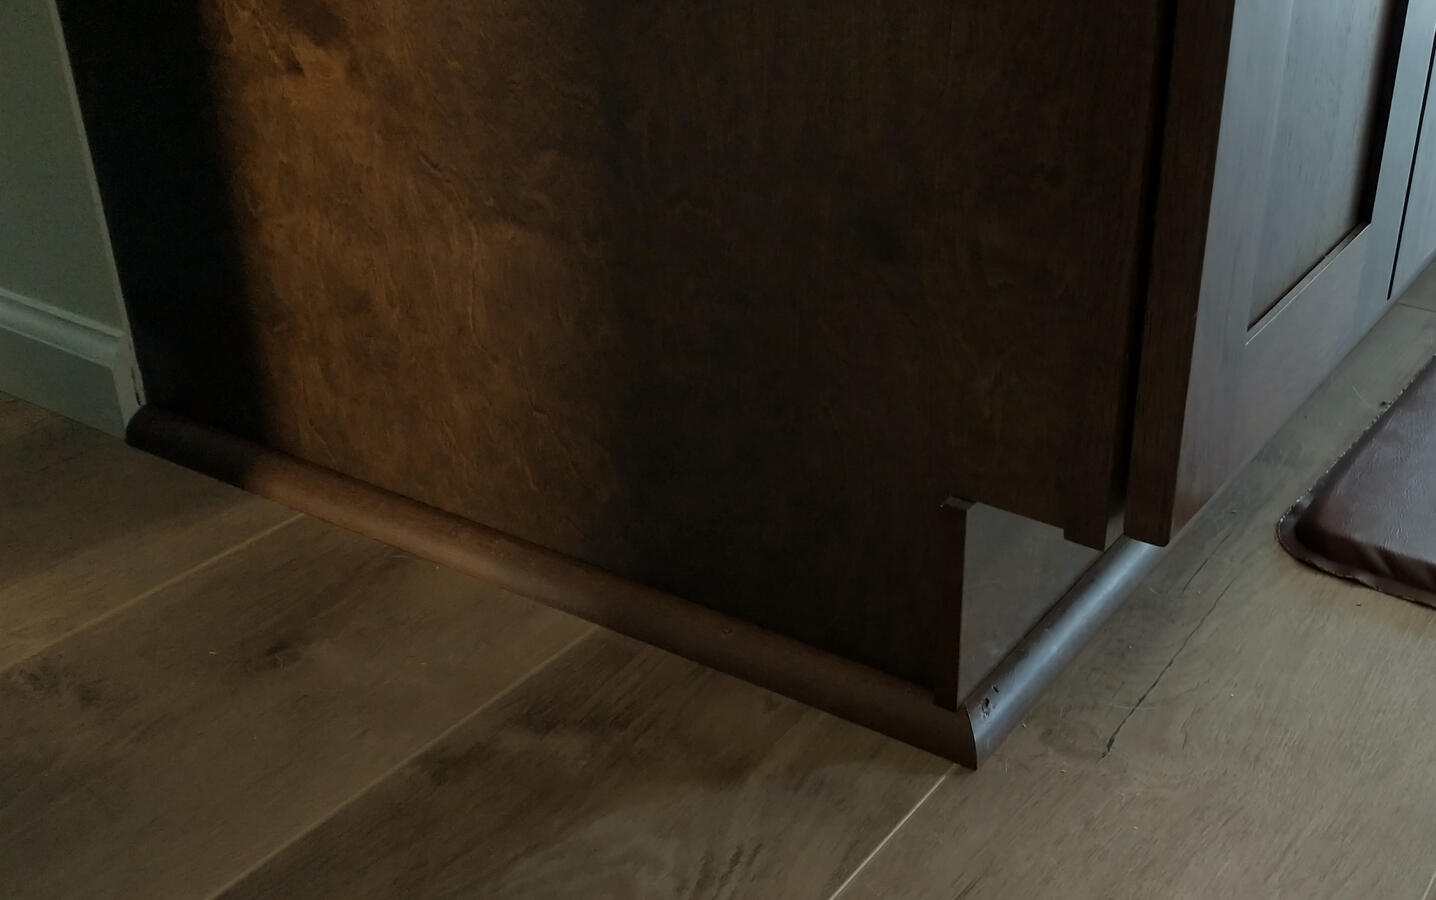
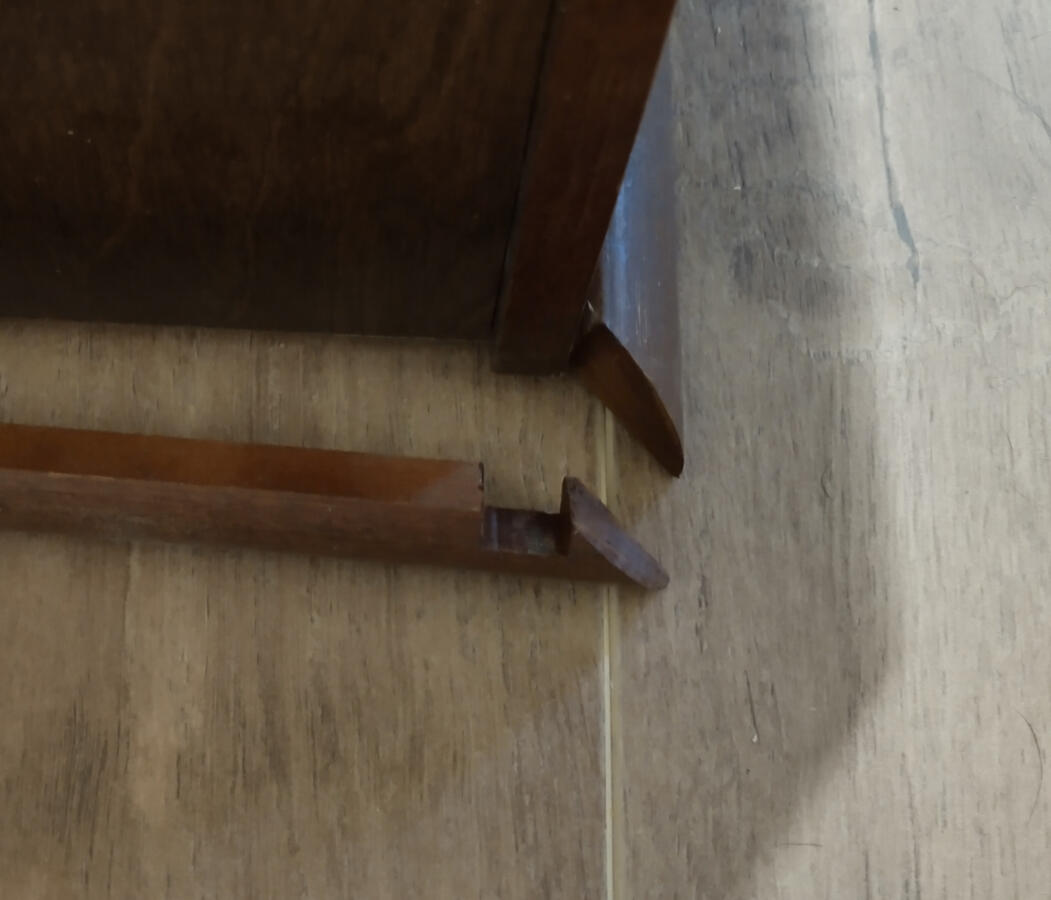
I had to carefully cut the quarter-round to allow for a slot that would fit the cabinet toe kicks. I did this by marking off the area and then slowly carving out this notch with a miter saw. There were two corners in the kitchen were this had to be done, and it definitely worked better than I expected.
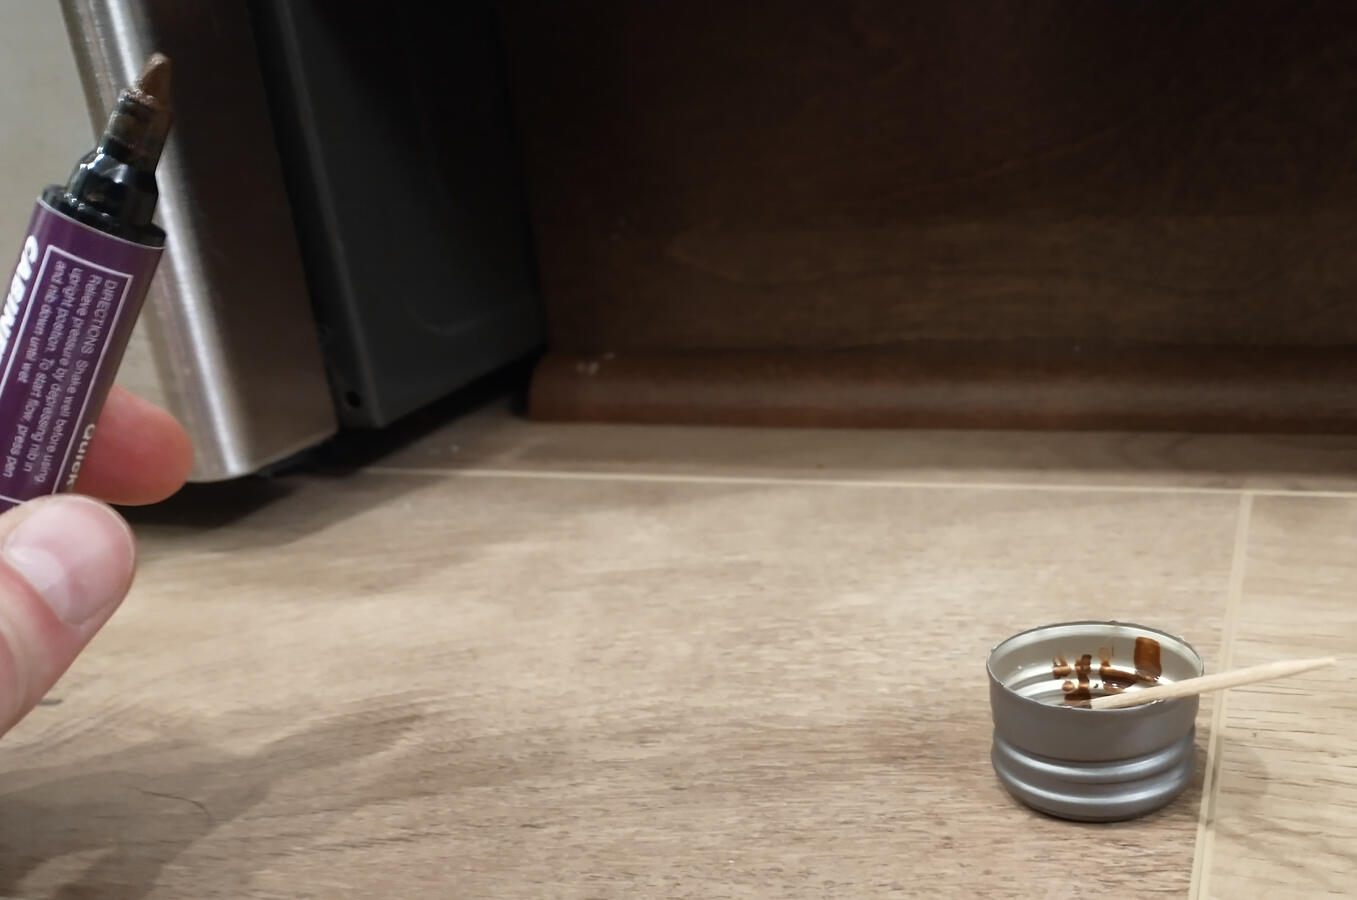
The gap along the bottom of the cabinets was quite large in some places, and I missed quite a few nails while I was nailing it in place with the nail gun. To hide the appearance of tons of little nail holes, I went back over each of the pieces using a toothpick to drip color-matched paint into each nail hole and filling in scratches .
Now that this is done I can finally stop worrying about bits of rice bouncing under the cabinets. Next up, I’ll have to put in spacers for all three places where there are gaps between cabinets and walls.